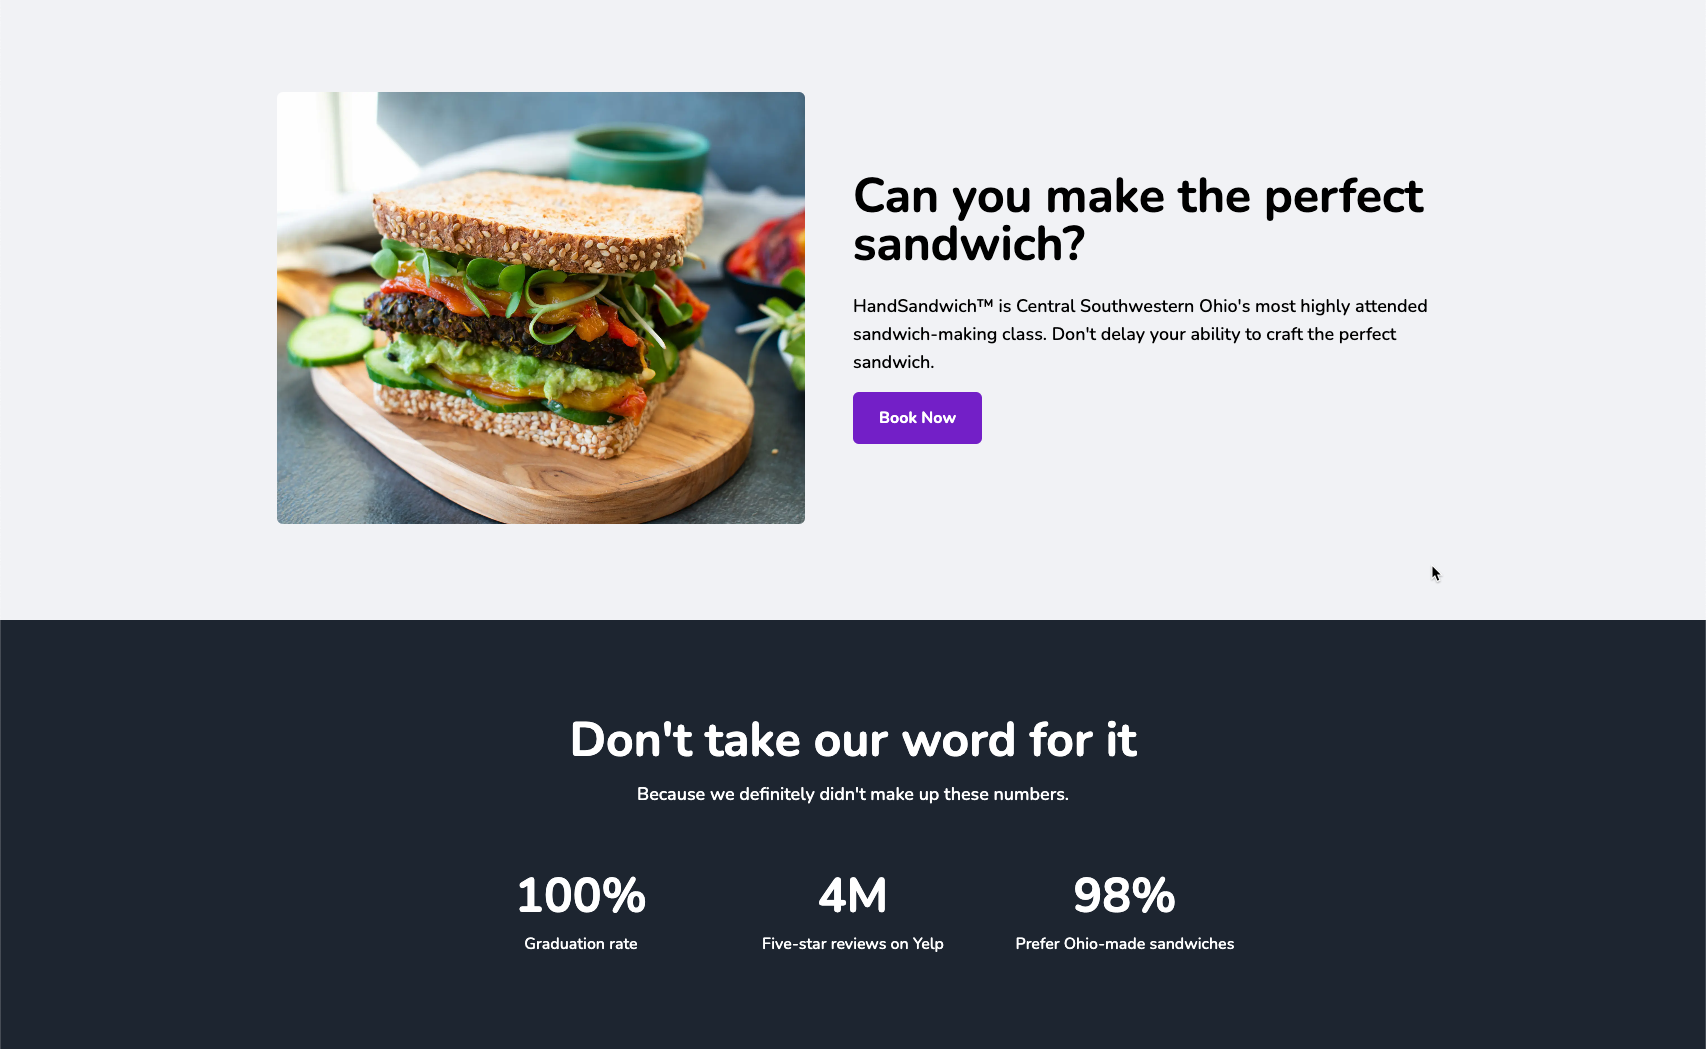
⚡ View demo: nextjs-contentful-starter.netlify.app
Before you begin, please make sure you have the following:
- Netlify account
- Contentful account
- GitHub, GitLab or Bitbucket account
- Node v18+ or later
- (optional) nvm for Node version management.
Fork and clone your repository, then run npm install in its root directory.
After signing into Contentful, create a new space.
If you don't already have a management token (or personal access token), generate one. To do so, go into your new empty space, then:
- Click Settings
- Choose API Keys
- Select the Content management tokens tab
- Click the button to generate a new token
From the same place you generated the management token, you can now generate API access keys.
- Select the content delivery / preview tokens tab
- Choose Add API key
In your project, duplicate .env.example to .env.
Fill in the values in the file based on the keys you've created.
Note: the Contentful space ID can be viewed and copied via Settings->General Settings in Contentful.
Import the provided content models & content into Contentful by running the import.js script:
npm run import
If the import fails to run, make sure that you've run npm install and that all keys in your .env file are set correctly.
Run the Next.js development server:
npm run dev
Visit localhost:3000 and you should see the example content you imported into your new Contentful space.
Keep the Next.js development server running, and open a new command-line window in the same directory.
Install Stackbit's CLI tools (once):
npm i -g @stackbit/cli@latest
Run the CLI:
stackbit dev
Click the displayed link to localhost:8090/_stackbit and the visual editor will open.
To deploy a cloud-based Netlify project your need to connected your repository to Netlify:
- If you haven't created your GitHub project repository, create it and push your code to GitHub
- Open the app.netlify.com, and choose "Import from Git" in the "Import an existing project" section
- In the "Configure site and deploy" step you will see the "Visual editor" section. To make it work, you will need to install "Netlify Visual Editor GitHub App" in your GitHub account.
- Deploy your project
Here are a few suggestions on what to do next if you're new to Netlify visual editor:
If you get stuck along the way, get help in our support forums.

