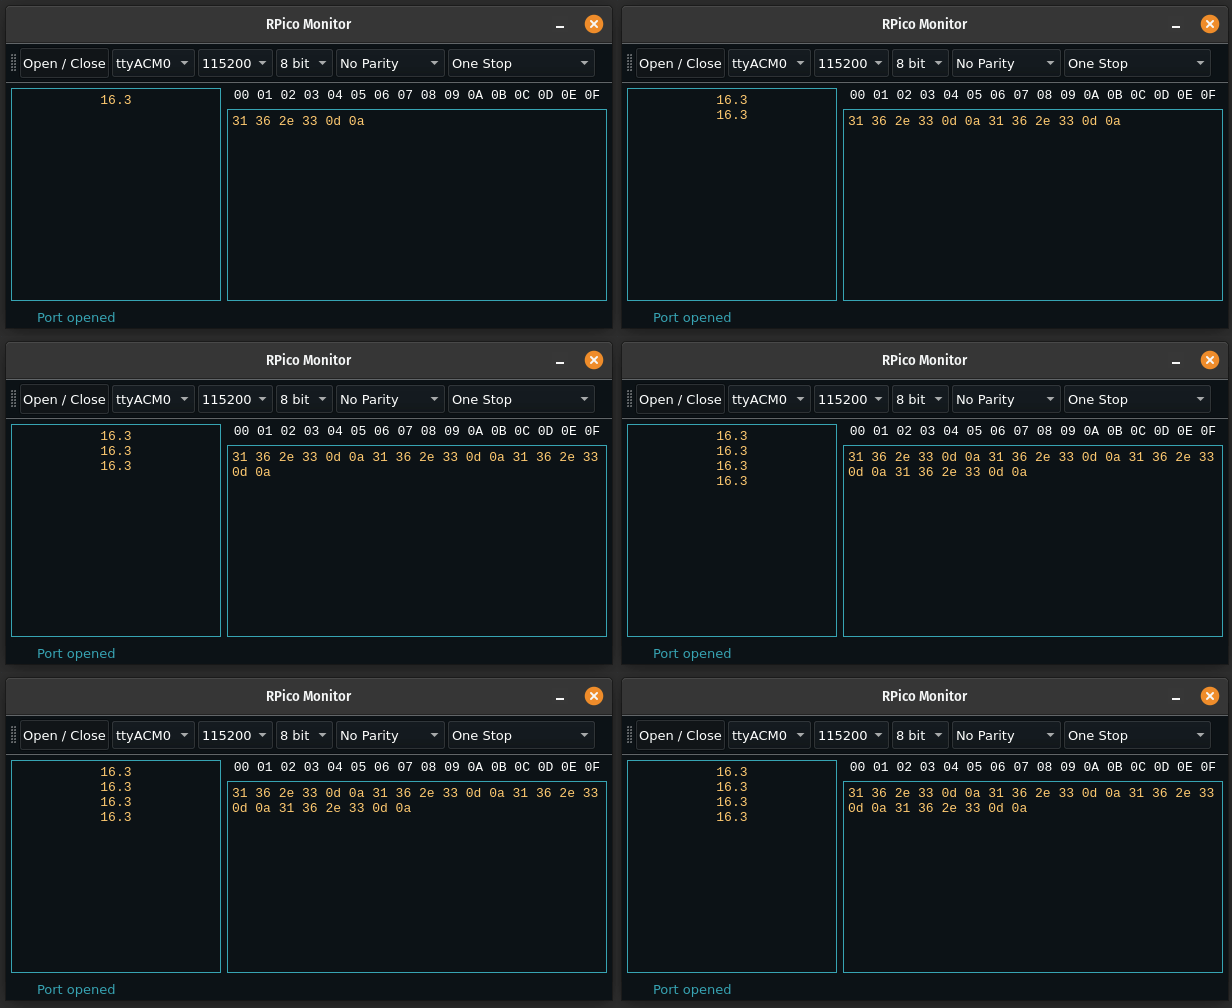
Read and display the built in Temperature sensor values of Raspberry Pico.
Technologies | Hardware | How it works | GUI application | Command-Line Application | License
Windows OS - Powershell running the JS application

Windows OS - VS code integrated terminal running the Python application

Linux (Pop OS) GUI application

This project was built using the following technologies and features:
Command line application - programming languages:
- Javascript
- Python
GUI Application:
- Python
- PyQT5
Softwares:
- Thonny IDE to upload the config file (Main.py)
- VS Code
- Raspberry Pico RP2040
- A USB micro B lead
It consists of two applications: Main.py using to read the RP2040 temperature sensor and the other one in (javascript) or (python) to display data from a serial port.
- RP2040 read Local temperature through the built in temperature sensor.
- Display data from serial port using a .py or .js solution (Command-line app)
- Display data from serial port - GUI Application
- Run automatically at Windows Startup.
-
Flash the MicroPython firmware.
-
Upload your Main.py to Raspberry Pico.
-
Keep the board connected into your computer.
-
Clone this repository
Choose from the options below
Fix Permission Denied on /dev/ttyACM0
sudo chmod 666 /dev/ttyACM0Will give you read/write permissions for the serial port in question. The chmod is a temporary fix (next reboot or hibernate you'll lose it). Try the next command to solve this problem.
Add yourself to that group, then log out and log in again to activate the change.
sudo usermod -a -G dialout $USER🐍 Python
- install the dependencies
pip install pyinstallerpip install pyserial
The command below will create a /dist directory in your program folder that contains the standalone executable file.
pyinstaller --onefile --icon="exe_resources\Appicon.ico" index.py
📁 javascript command line application
- install the dependencies
- run
npm inpm install prompt-syncnpm install -g pkg
The code below will generate an .exe file for windows OS and 2 other files.
pkg index.js
--onefile / -F : Create a one-file bundled executable.Now you have an .exe to show you the local temperature. I've built this project to read the temperature inside my computer. More precisely, in summer when our home is very warm.
--icon / -i : set an icon to the executable file.
The next step is optional:
Now we are going to create a folder to put our .exe file. I've created my folder in C://users/myuser/personalapps/
Open your powershell and paste the code.
Don't forget to edit the path and the file name
New-ItemProperty -Path "HKCU:\Software\Microsoft\Windows\CurrentVersion\Run" `
    -Name "Application" `
    -Value "C:\Path\To\MyApplication.exe"
Press enter and restart your computer. If you followed the instructions, you have now your application running at windows startup. It's simple but usefull! Hope you enjoy it!
This project was built under MIT. See the file LICENSE for more details.
Built with 💖 love and burning my 🧠 brain - by Binary Leo 👋🏻 Find me on linkedin!


